
 Pin it
Honestly, I remember the first time I made what I now call my Melt-In-Your-Mouth Chicken Breast. It was a weeknight, chaos reigned, and I was trying to impress someone special or maybe just myself, after a particularly long day. I had this idea that chicken breast had to be dry and boring, a necessary evil. But then, an accidental discovery, a little too much butter, and a dash of 'let's just see what happens' led to this incredible tenderness. The kitchen filled with this warm, savory smell, and when I took that first bite, I didn't expect that. It wasn't just dinner, it was a hug on a plate, a moment of pure culinary bliss. This isn't just a recipe, it's the story of how I learned to love chicken again, mistakes and all.
I swear, one time I was so distracted trying to tell a story about a squirrel in the backyard that I almost forgot the crucial step of searing the chicken before baking it. The chicken was still good, but it didn't have that lovely golden crust I adore. Oops! It taught me to pay a little more attention, even when the kitchen is bustling and I'm rambling on. But hey, even my 'oops' moments usually turn into something edible, and sometimes even delicious, which is kinda the beauty of home cooking.
Ingredients
Main Players
- Boneless, Skinless Chicken Breasts: Look for even thickness, or pound them slightly yourself. This is key for even cooking nobody wants one side dry and the other underdone, hon.
- Unsalted Butter: Don't even think about margarine here, the real stuff makes all the difference for that rich, tender chicken. I tried olive oil once, and it just wasn't the same.
- Chicken Broth (Low Sodium): This adds moisture and flavor without making it too salty. I always grab the low sodium because I like to control the seasoning myself.
Flavor Builders
- Garlic Powder: A staple in my kitchen. Use a generous hand here, honestly, you can't have too much garlic in my book. Fresh works too, but powder is just so easy.
- Onion Powder: Complements the garlic beautifully. It adds a subtle depth that makes the chicken taste more complex without being overpowering.
- Dried italian Seasoning: My secret weapon for a quick flavor boost. It's got basil, oregano, thyme all the good stuff. I once bought a cheap brand and it tasted like dust, so stick to a good quality one!
- Smoked Paprika: This is where the magic happens for a subtle, smoky warmth. It gives the chicken a gorgeous color and a hint of something special.
- Salt & Freshly Ground Black Pepper: Season, season, season! Don't be shy, but taste as you go. I always forget to add enough pepper the first time, then have to go back.
Finishing Touches
- Fresh Parsley (Chopped): A sprinkle at the end brightens everything up. It adds a pop of color and a fresh, herbaceous note. I just love how it looks on the plate.
Optional Kicks
- Lemon Wedges: A squeeze of fresh lemon at the end? Oh my goodness, it just elevates the whole dish. It cuts through the richness and adds a zing.
Instructions for Melt-In-Your-Mouth Chicken Breast
- Prep Your Chicken:
- First things first, get those chicken breasts ready. Pat them really, really dry with paper towels. This is a step I used to skip, and trust me, it makes a huge difference in getting that lovely sear. If they're super thick, gently pound them to an even 1-inch thickness. This ensures your Melt-In-Your-Mouth Chicken Breast cooks evenly, so you don't end up with dry edges and raw middles. Season both sides generously with salt, pepper, garlic powder, onion powder, Italian seasoning, and smoked paprika. Don't be shy with the seasoning, it’s where the flavor starts!
- Sear for Color:
- Heat a large oven-safe skillet (cast iron is my favorite for this, honestly) over medium-high heat. Add half of the butter and let it melt until it’s sizzling slightly. Place the seasoned chicken breasts in the hot skillet, making sure not to overcrowd the pan. You want a nice, golden-brown crust, so let them sear for about 3-4 minutes per side. This step is crucial for flavor and texture it locks in those juices and builds that incredible base for your chicken. I once tried to rush this and the chicken looked sad, not golden!
- Deglaze and Add Broth:
- Once both sides are beautifully seared, carefully remove the chicken from the skillet and set aside. Reduce the heat to medium. Add the remaining butter to the skillet and let it melt, scraping up any delicious browned bits from the bottom of the pan that's pure flavor right there! Pour in the chicken broth. Bring it to a gentle simmer, letting it cook for about 1-2 minutes, just enough to slightly reduce and combine with those skillet drippings. Oh, the smell at this point is just divine, a true kitchen moment!
- Return Chicken to Skillet:
- Carefully place the seared chicken breasts back into the skillet, nestled in that simmering broth. Make sure they’re sitting comfortably, submerged just a little in the liquid. This is where the magic really happens for that tender texture. I sometimes forget to arrange them nicely, and then they don't cook as evenly, so take a moment here. This step ensures they stay incredibly moist as they finish cooking.
- Bake to Perfection:
- Transfer the skillet to your preheated oven. Bake for 15-20 minutes, or until the internal temperature of the thickest part of the chicken reaches 165°F (74°C). Cooking times can vary, so a meat thermometer is your best friend here. Don't overcook it, hon! That's the secret to keeping it juicy and tender. This is where you really achieve that Melt-In-Your-Mouth Chicken Breast texture we're aiming for. The kitchen will smell absolutely incredible, trust me.
- Rest and Garnish:
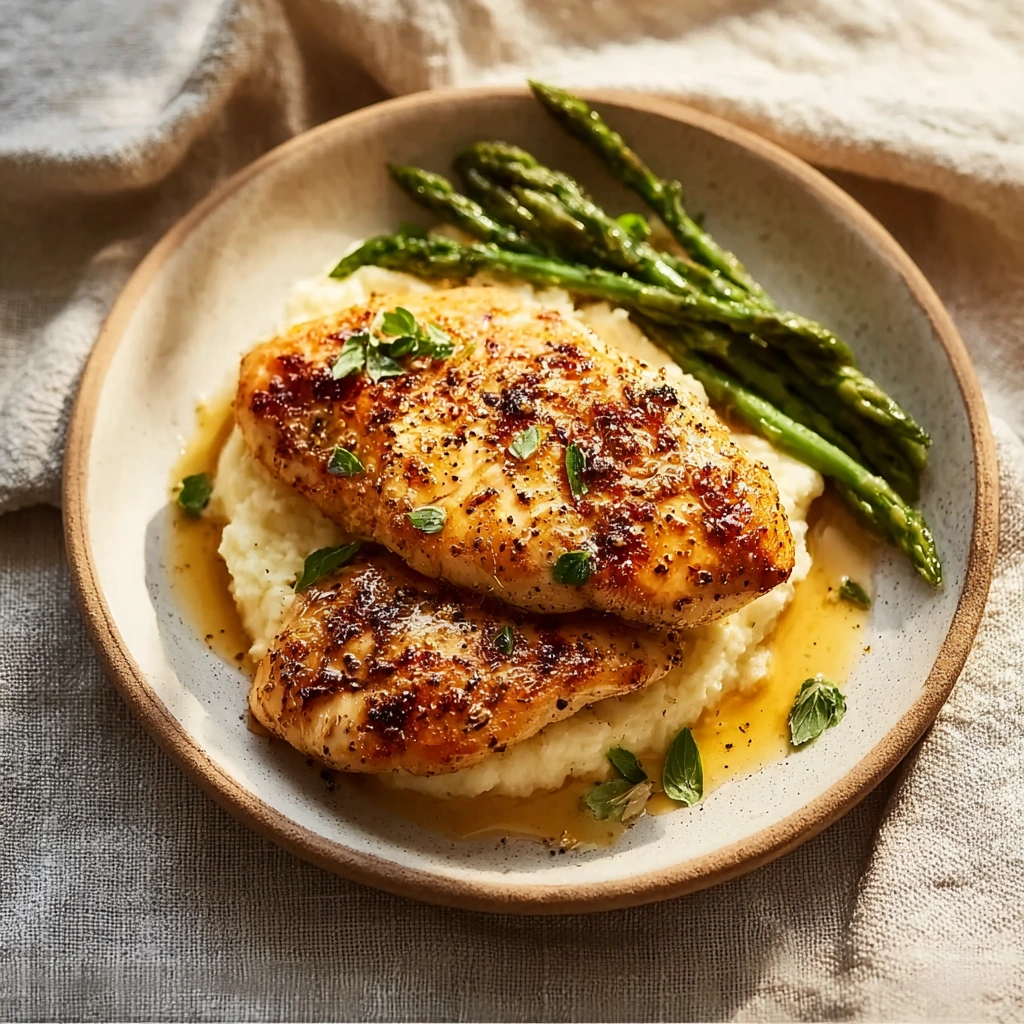
- Once cooked, remove the skillet from the oven. Transfer the chicken breasts to a cutting board and tent them loosely with foil. Let them rest for 5-10 minutes. This resting period is non-negotiable, it allows the juices to redistribute, ensuring every bite is succulent. Slice against the grain, if you like, or serve whole. Garnish generously with fresh chopped parsley and a squeeze of fresh lemon juice, if you're feeling fancy. The final chicken should look golden, smell amazing, and practically fall apart.
Honestly, there was one time I was so proud of this recipe, I plated it up beautifully, only to realize I’d forgotten to add the smoked paprika. It was still good, but it lacked that little something extra, that warmth. It just goes to show, even when you think you know a recipe inside out, kitchen chaos can still strike! But hey, it was a good excuse to make it again, right?
Storage Tips for Melt-In-Your-Mouth Chicken Breast
So, you’ve got leftovers of your amazing chicken? Lucky you! Once the chicken has cooled completely (and I mean completely, don't put warm food straight into the fridge, it's a recipe for soggy sadness), transfer it to an airtight container. It’ll keep beautifully in the refrigerator for up to 3-4 days. I’ve found that reheating gently in a skillet with a splash of extra chicken broth or even just a tiny bit of water helps keep it moist. I microwaved it once without any liquid, and the sauce separated a bit, and the chicken got a little tough so don't do that lol. It also freezes well for up to 2-3 months, just thaw overnight in the fridge and reheat as desired. It makes for a fantastic quick lunch on a busy day, sliced up for a salad or nestled in a sandwich.
 Pin it
Ingredient Substitutions for Melt-In-Your-Mouth Chicken
Life happens, and sometimes you don’t have everything on hand, right? For the chicken broth, vegetable broth works just fine, I’ve used it when I was in a pinch, and it still yielded tender chicken, just with a slightly different flavor profile. If you're out of fresh parsley, dried parsley will work, but honestly, the fresh stuff really adds that pop of color and brightness at the end. For the butter, if you absolutely must, olive oil can be used for searing, but you'll lose some of that rich, buttery flavor that makes this chicken so special. I tried a mix once, and it worked... kinda. You could also swap out the Italian seasoning for a mix of dried oregano and basil if that’s what’s lurking in your spice cabinet. Feel free to play around with the spices too, a touch of cayenne can add a nice kick if you like a little heat!
Serving Suggestions for Your Melt-In-Your-Mouth Chicken
Oh, the possibilities! This chicken is so versatile. I love serving it with a simple side of creamy mashed potatoes the sauce from the chicken is just divine spooned over them. A fresh green salad with a zesty vinaigrette also makes for a lovely, lighter meal. For a cozy night in, I sometimes pair it with roasted asparagus or steamed green beans. And a glass of crisp white wine? Yes please! This dish and a rom-com? Perfect. It’s also fantastic sliced and tossed into a pasta dish, or even shredded for tacos if you’re feeling adventurous. It’s that kind of comforting dish that makes any meal feel a little more special, whether it’s a fancy dinner or just a Tuesday night.
Cultural Backstory of Tender Chicken
While this particular recipe is a modern home-cook creation, the concept of tender, flavorful chicken is very common. Across cultures, cooks have found ways to transform humble chicken breasts into something extraordinary. Think of the French technique of poaching in delicate broths, or the Mediterranean use of herbs and olive oil to keep poultry moist. For me, this recipe is less about a specific cultural origin and more about the common desire for simple, comforting food that reminds you of home. It's about taking a common ingredient and, through a few thoughtful steps, elevating it to something very special. It became special to me because it proved that even everyday ingredients, with a little love, can surprise and delight.
Honestly, making this recipe always feels like a little victory in my kitchen. It’s simple, it’s comforting, and it always turns out so beautifully tender. I love how it reminds me that even the most basic ingredients can be transformed into something very special with just a little bit of care. I really hope you give this a try and maybe even share your own kitchen moments with this recipe. Happy cooking, friends!
 Pin it
Frequently Asked Questions
- → How do I get my Melt-In-Your-Mouth Chicken Breast so juicy?
The secret, honestly, is a good sear followed by gentle baking in broth, and then, crucially, letting it rest! I used to cut into it right away, and all the juices would run out. Don't be like past me, patience is a virtue here!
- → Can I use frozen chicken for this recipe?
You can, but make sure it’s fully thawed first. Trying to sear frozen or even partially frozen chicken is a recipe for uneven cooking and a sad, watery crust. Trust me, I've tried to rush it before, and it was a mess.
- → Any tips for cooking Melt-In-Your-Mouth Chicken Breast without drying it out?
Absolutely! The biggest tip is to use a meat thermometer and pull it out of the oven right when it hits 165°F (74°C). Also, the broth in the pan helps keep it moist, so don't skimp on that. I once pushed it to 175°F, and it was a tragedy.
- → How long does this chicken last in the fridge?
Once cooled and stored in an airtight container, it’s good for about 3-4 days. I often make a double batch for meal prep, and it holds up great for lunches. Just remember to add a splash of liquid when reheating!
- → Can I add other vegetables to the pan with the chicken?
Totally! I’ve thrown in sliced bell peppers or some chopped onions during the last 10 minutes of baking. Just be mindful they don't release too much water and steam your chicken instead of letting it bake nicely. Experiment, hon!