


I remember the first time I tried to make an apple crisp. It was a complete, glorious mess, honestly. Apples everywhere, cinnamon dust on the ceiling, and a topping that resembled granola bars more than crumbly goodness. My grandma, bless her heart, just laughed and handed me a dish of her own, saying, "Sweetie, it's all about the feeling." And she was right. This easy homemade apple crisp recipe isn't just about apples and oats, it’s about that comforting hug on a plate, the smell of cinnamon wafting through the house, making everything feel just right. It’s a simple joy, a little bit of kitchen magic that always makes me smile.
One time, I was so excited to get this easy homemade apple crisp in the oven, I completely forgot to add the sugar to the apples. I only realized it when the house smelled amazing, but the first bite was... well, let's just say "tart" is an understatement. My partner, bless his heart, just smiled and said, "It's, uh, very rustic!" We ended up drizzling honey on top, and it worked out, kinda. It taught me to double-check my ingredients, but also that kitchen mishaps often lead to new, interesting twists!
Ingredients for Easy Homemade Apple Crisp
Crisp Apple Filling
- Granny Smith Apples (6-8 medium): For this easy homemade apple crisp, I always grab Granny Smiths. Their tartness holds up beautifully against the sweet topping, and they don't turn to mush in the oven, which is a big win for texture!
- Granulated Sugar (1/2 cup): Balances the tart apples. Don't skip it, unless you're feeling adventurous and want a super tart experience, which I don't recommend!
- All-Purpose Flour (2 tablespoons): Just a little bit to help thicken those delicious apple juices. Honestly, I've tried gluten-free flour too, and it works pretty well, though the texture might be a tiny bit different.
- Ground Cinnamon (1 teaspoon): This spice just belongs with apples, right? It brings that warm, comforting aroma. Sometimes I add a pinch more than the recipe calls for, because I'm a cinnamon fiend, honestly.
- Ground Nutmeg (1/4 teaspoon): A little goes a long way, but it adds a lovely depth that complements the cinnamon. Don't go overboard, or it can get a bit overpowering, a mistake I've made once or twice.
- Pinch of Salt (1/4 teaspoon): Just a tiny bit to enhance all the other flavors. It might seem small, but it makes a difference, I swear.
Buttery Oat Topping
- Old-Fashioned Rolled Oats (1 cup): Essential for the crumbly, chewy texture of the topping. Please, for the love of all things good, don't use instant oats. They'll just turn to mush, and we want crisp, not mush, for our easy homemade apple crisp!
- All-Purpose Flour (1/2 cup): Helps bind the topping together and gives it structure. I've used whole wheat flour here for a nuttier flavor, and it was actually pretty good, if you're into that.
- Brown Sugar, packed (1/2 cup): This is the secret to that deep, caramel-y flavor in the topping. Light or dark works, but dark brown sugar gives it an extra oomph, a richer sweetness that's just divine.
- Unsalted Butter (1/2 cup / 1 stick, cold, cubed): This is what makes the topping golden and irresistible. Cold butter is key here, it helps create those pockets of steam for a truly crumbly texture. I always use unsalted so I can control the saltiness myself.
- Pinch of Salt (1/4 teaspoon): A small touch to make the sweetness pop. It’s amazing how a tiny bit of salt can elevate a dessert, honestly.
Optional Flavor Boosters
- Lemon Juice (1 tablespoon): A splash for the apples brightens everything up and keeps them from browning. I sometimes forget this, and it still tastes great, but it does add a nice zing.
- Vanilla Extract (1 teaspoon): For the filling, just a little bit adds another layer of warmth. I usually eyeball this, honestly, and sometimes add a little extra because vanilla makes everything better.
Instructions for Making Easy Homemade Apple Crisp
- Prep Your Apples:
- First things first, get those apples ready! I usually peel, core, and slice them into about 1/4-inch pieces. Don't worry too much about perfection, a little rustic charm is part of the appeal of this easy homemade apple crisp. Pop them into a large bowl. Now, sprinkle in the granulated sugar, flour, cinnamon, nutmeg, and a pinch of salt. If you're feeling fancy, a splash of lemon juice and vanilla extract too. Give it a good toss until all the apple slices are nicely coated. I always make sure everything is evenly distributed, nobody wants a bland bite, right?
- Make the Topping:
- Next up, the star of the show: that glorious crumbly topping! In a separate medium bowl, whisk together the old-fashioned oats, flour, brown sugar, and a pinch of salt. Now for the fun part: add the cold, cubed butter. I like to use my fingertips to really work that butter into the dry ingredients. You're looking for a coarse, crumbly mixture, like wet sand, with some pea-sized pieces of butter still visible. This is where the magic happens for a truly crisp topping, so don't overmix it, we want texture, not a paste!
- Assemble Your Easy Homemade Apple Crisp:
- Alright, time to bring it all together! Grab a 9x13 inch baking dish or a deep 8x8 if you want a thicker crisp. Pour your seasoned apple mixture evenly into the bottom of the dish. It'll probably look like a mountain of apples, but they'll cook down, I promise. Then, generously sprinkle that buttery oat topping all over the apples. Try to get an even layer, but a few gaps are totally fine, it adds to the homemade charm. I always get a little topping on the counter here, it's just part of the process, honestly!
- Bake to Golden Perfection:
- Preheat your oven to 375°F (190°C). Once it’s hot, carefully place your baking dish on a baking sheet (just in case of any bubbling over, which, trust me, has saved me from a messy oven clean-up more than once). Bake for about 40-50 minutes. You'll know it's ready when the topping is a beautiful golden brown, and the apple filling is bubbling up around the edges. The smell that fills your kitchen at this point? Pure heaven. I usually start peeking around the 35-minute mark, just because I'm impatient!
- Cool and Serve:
- This is the hardest part for me: waiting! Once your easy homemade apple crisp comes out of the oven, it's going to be piping hot and very bubbly. Let it cool for at least 15-20 minutes on a wire rack before serving. This cooling time allows the filling to set up a bit, so it's not a runny mess, and the topping gets even crispier. I’ve burned my tongue many times trying to dig in too soon, so learn from my mistakes, hon! The aroma during this cooling stage is just incredible.
- Enjoy Your Easy Homemade Apple Crisp:
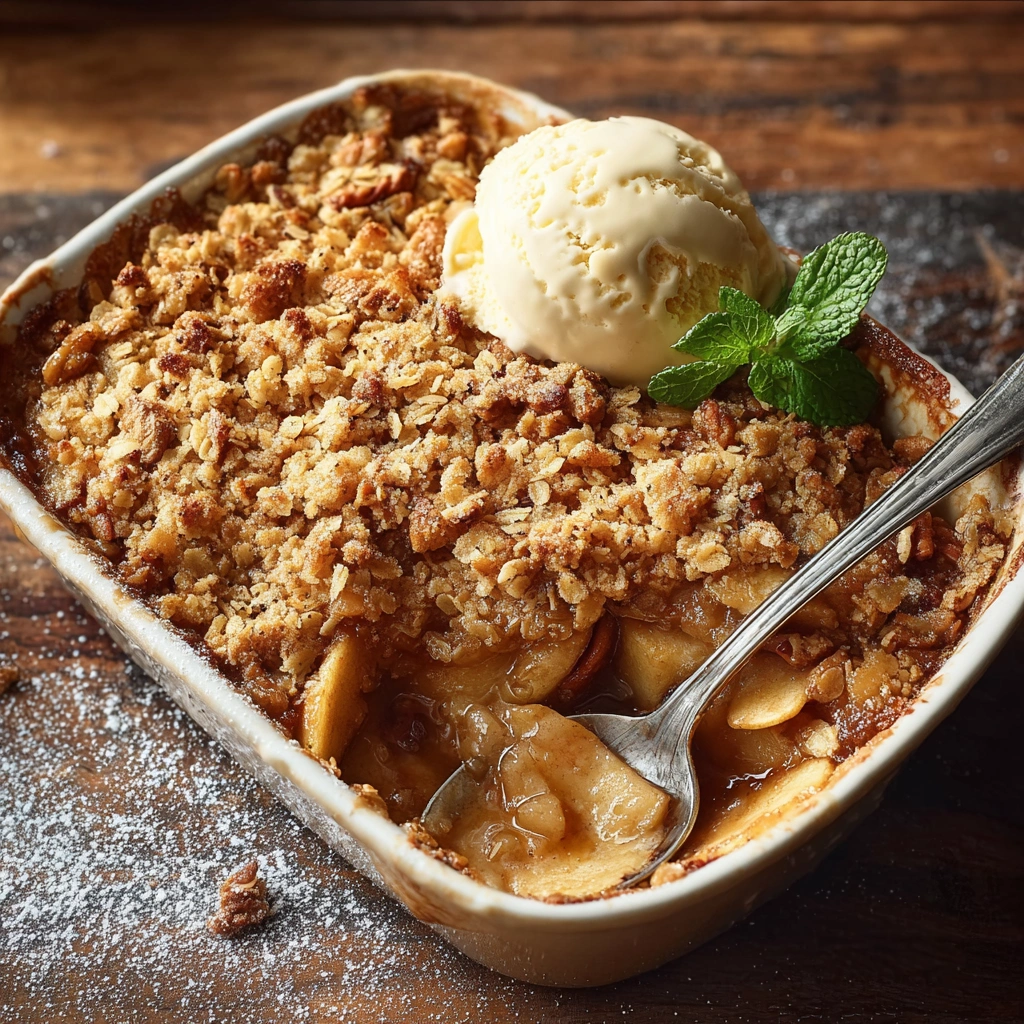
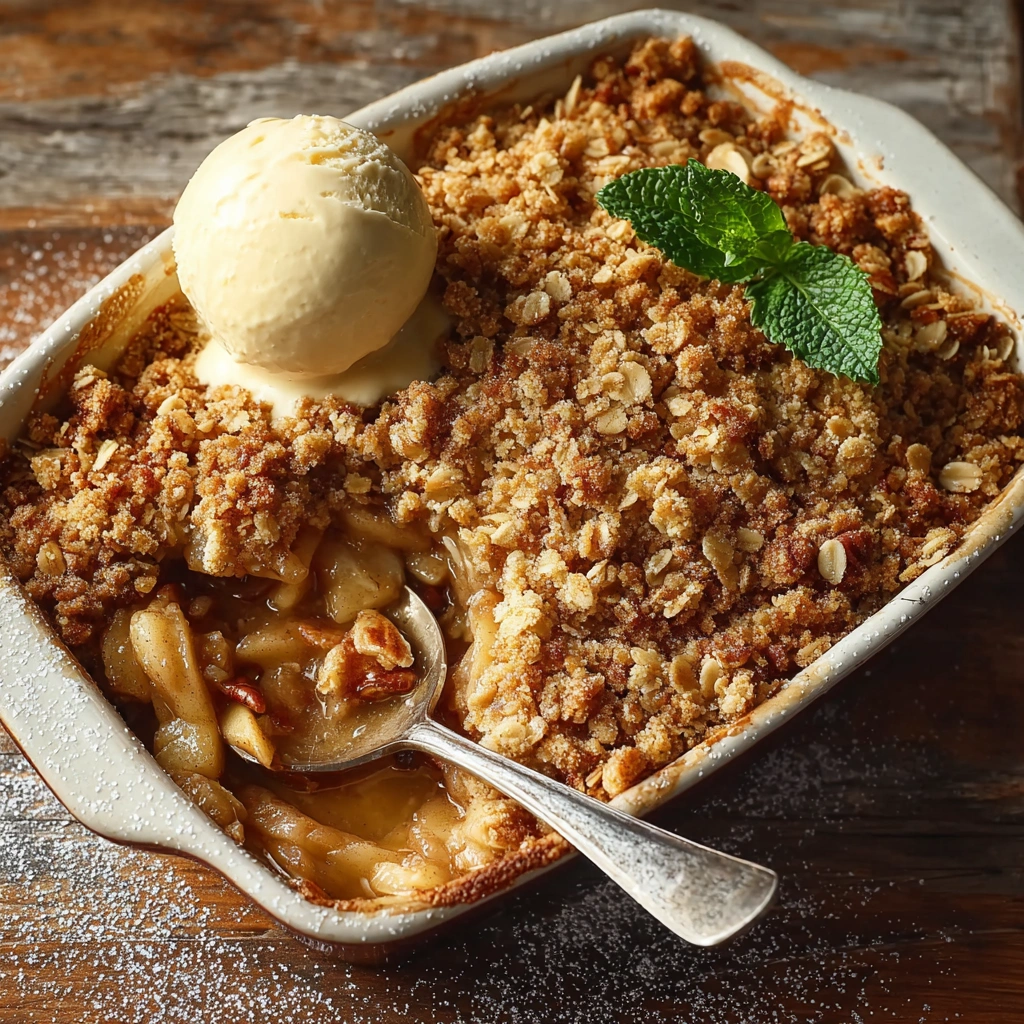
- Finally, the moment we’ve all been waiting for! Scoop out generous portions of your warm, easy homemade apple crisp. This is where you get to decide if you're a purist or a maximalist. I'm definitely a maximalist, a big scoop of vanilla bean ice cream melting over the warm apples and crisp topping is non-negotiable for me. A dollop of whipped cream or a drizzle of caramel sauce wouldn't hurt either. Just savor that perfect blend of tart, sweet, and crunchy. It’s truly a little slice of comfort!
There's something so grounding about peeling apples, the scent of fresh fruit filling the air. My kitchen usually looks like a hurricane hit it by the time I'm done, with flour dust and apple peels everywhere, but it's a happy mess. This easy homemade apple crisp has seen me through countless quiet evenings and impromptu gatherings. It's the kind of dish that doesn't demand perfection, just warmth and a little bit of love, and it always delivers on that comforting feeling.
Storing Your Easy Homemade Apple Crisp
So, you’ve got leftovers of your easy homemade apple crisp? Lucky you! This crisp actually holds up pretty well. Once it’s completely cooled, cover the baking dish tightly with plastic wrap or aluminum foil and pop it in the fridge. It’ll stay good for about 3-4 days. I’ve definitely had it for breakfast the next morning, cold, straight from the fridge don't judge! When reheating, I find the microwave can make the topping a bit soft, which isn't my favorite. For the best results, scoop out a portion and warm it gently in a preheated oven (around 300°F/150°C) for 10-15 minutes until it's warmed through and the topping crisps back up. That’s how you get that fresh-baked feel again.
 Pin it
Easy Homemade Apple Crisp Ingredient Swaps
Life happens, and sometimes you don’t have exactly what the recipe calls for, right? For the apples, I’ve used a mix of Honeycrisp and Braeburn when Granny Smiths weren’t available, and it worked beautifully, just a bit sweeter. You could also try pears for a different twist! If you’re out of brown sugar for the topping, I've used granulated sugar with a tablespoon of molasses added, and it gives a surprisingly similar deep flavor. For the oats, if you only have quick oats, you can use them, but be warned, the topping won't be as chewy or distinct, it'll be softer, which I tried once and it worked... kinda. And if you’re gluten-free, swap out the all-purpose flour for a 1:1 gluten-free baking blend in both the filling and the topping I've done it, and it usually turns out great!
Serving Your Easy Homemade Apple Crisp
Honestly, a warm scoop of this easy homemade apple crisp all by itself is pretty fantastic, but why stop there? For me, it’s practically mandatory to serve it with a generous scoop of good quality vanilla bean ice cream. The cold, creamy ice cream melting into the warm, spiced apples and crunchy topping is just chef's kiss. If you're feeling extra, a dollop of freshly whipped cream or a drizzle of homemade caramel sauce takes it to another level. It’s also surprisingly delicious with a strong cup of coffee in the morning, or alongside a mug of spiced cider on a chilly evening. This dish and a cozy blanket on the couch? Yes please.
The Story Behind Easy Homemade Apple Crisp
Apple crisp, or apple crumble as some folks call it, doesn't have a long, ancient history like some desserts. It really gained popularity during World War II in Britain, when rationing made traditional pie crusts difficult to make. People needed a simpler, less resource-intensive way to enjoy fruit desserts, and the crumbly topping was the perfect solution. For me, this easy homemade apple crisp reminds me of my own childhood, of Sunday dinners at my grandma's house. It was her go-to dessert, simple yet so profoundly comforting, a dish that always meant family and warmth. It might not have a fancy origin story, but its legacy of bringing people together over a humble, delicious treat is what makes it truly special to me.
Making this easy homemade apple crisp always fills my kitchen with such incredible aromas and my heart with a quiet joy. It’s a testament to how simple ingredients can create something so profoundly satisfying. Every bubbling bite, every crunchy crumb, feels like a little piece of home. I hope it brings as much warmth and comfort to your table as it does to mine. Don't be shy, give it a try, and maybe share your own kitchen adventures with this classic. Happy baking, friends!
 Pin it
Frequently Asked Questions about Easy Homemade Apple Crisp
- → What kind of apples are best for easy homemade apple crisp?
I always lean towards tart, firm apples like Granny Smiths. They hold their shape beautifully and their tartness balances the sweet topping. Honestly, I once used Red Delicious, and they just turned to mush, which was a bit sad for my easy homemade apple crisp!
- → Can I make this easy homemade apple crisp ahead of time?
Absolutely! You can assemble the crisp (apples and topping) and store it covered in the fridge for up to 24 hours before baking. For a truly fresh experience, I prefer to bake it just before serving, but prep-ahead is a lifesaver.
- → My crisp topping isn't very crispy. What went wrong?
Ah, a common kitchen dilemma! Often it's because the butter wasn't cold enough, or the topping was overmixed. Cold butter creates steam pockets, which give you that lovely crisp texture. Also, make sure your oven is hot enough!
- → How do I store leftover easy homemade apple crisp?
Once it's completely cooled, cover it tightly and refrigerate for up to 3-4 days. To reheat, pop it back in a 300°F (150°C) oven for 10-15 minutes. Microwaving works, but the topping won't be as crisp, which I learned the hard way.
- → Can I add other fruits to this easy homemade apple crisp?
Totally! I’ve tried adding a cup of fresh cranberries for a tart kick during the holidays, and it was delicious. Pears or even a handful of berries would also work beautifully. Just make sure the total fruit amount stays roughly the same.